Jetson Nano Installation
Before you get started with the Jetson Nano
Before you can even boot up your NVIDIA Jetson Nano you need three things:
A micro-SD card (minimum 64GB)
A 5V 2.5A MicroUSB power supply
An ethernet cable
I really want to stress the _minimum _of a 64GB micro-SD card.
Since the img file will occupied more than 12 GB and other programs (including openCV, ROS ..) will occupy up to 20 GB, the used volume will be about 32 GB. In addition, there are only 4 GB of RAM that is quite small (open about 5 webpages in Chrome can lead to full of memory), so need to create a swap of 8 GB.
For power supply, I use a adapter with barrel jack, power up to 5V 3A (that is used for DLink USB hub). For using the barrel jack connector, one must use a jumper pin as follows
 Fig2: where to put the jumper pin
Download and flash the .img file to your micro-SD card
Use balena Etcher for flashing the img file to micro-SD card;
First boot of the NVIDIA Jetson Nano
After you’ve downloaded and flashed the .img file to your micro-SD card, insert the card into the micro-SD card slot.
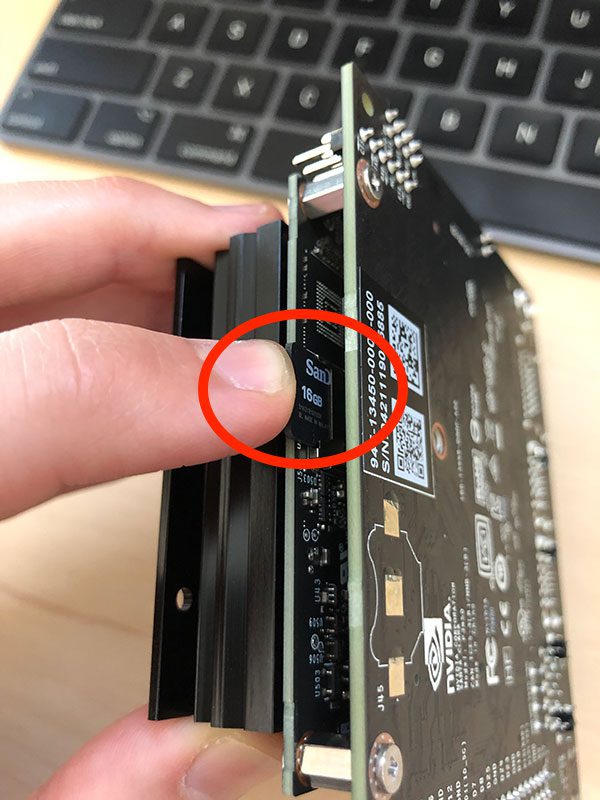
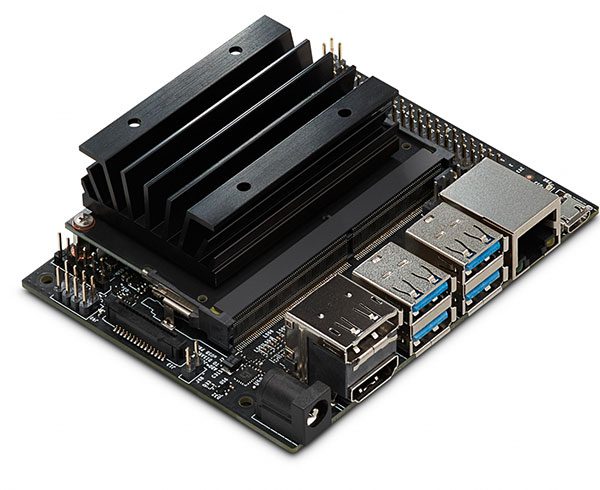
Figure 3:Where is the microSD card slot on the NVIDIA Jetson Nano? The microSD receptacle is hidden under the heatsink as shown in the image.
The screen of the HDMI monitor connected:
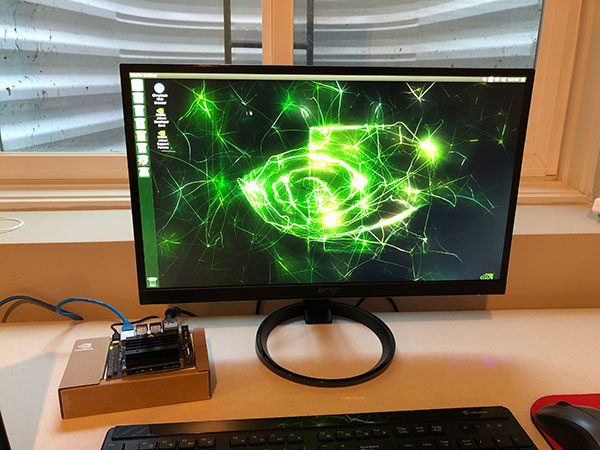
Figure 3:To get started with the NVIDIA Jetson Nano AI device, just flash the .img (preconfigured with Jetpack) and boot.
The Jetson Nano will then walk you through the install process, including setting your username/password, timezone, keyboard layout, etc. Actually, version (install 19 May 2019) is Ubuntu 18.04
auvnano@jetsonnano
password: auv
SOME BASIC SETTINGS
creat swap memory
Since memory (4GB) on the Jetson Nano is rather limited, I’d create and mount a swap file on the system. I referenced
Create a Linux swap file for that. And I made a 8GB swap file on my Jetson Nano DevKit. (You could adjust the swap file size based on your own needs.)
Once the above is working, add the following line into/etc/fstaband reboot the system. Make sure the swap space gets mounted automatically after reboot.
Change the background color, show line number, grid on .... of gedit
Install terminator and setting unlimited scroll back
Change setting to search history in
DO UPDATE AND UPGRADE RIGHT AFTER FIRST BOOT USING INTERNET CONNECTION
(Check if need to use dist-upgrade)
Then remove all not-used packages
INSTALL OPENCV 3.4.1
Since the .img flashing pre-installed jetson nano Ubuntu 18.04 goes along with OpenCV 3.3, we need to remove it first.
Then follow the instruction from
Note that there is problem with link to libjasper-dev
Continue installing requirements
Create the src folder
Then
Now all requirements are installed and start installing openCV
Then run
cmake -D CMAKE_BUILD_TYPE=Release-D WITH_CUDA=ON-D CMAKE_INSTALL_PREFIX=/usr/local ..
make -j3
Here I do not use the command cmake given by jkjung since it has error in make.
This process can take long time and the CPU is hot. Need a fan for avoiding overheating.
sudo make install
Check installled version of openCV after successully setup
auvnano@jetsonnano:~$ pkg-config opencv --cflags
-I/usr/local/include/opencv -I/usr/local/include
auvnano@jetsonnano:~$ pkg-config --modversion opencv
3.4.1
INSTALL ROS MELODIC
Follows the instruction, then install
To install this tool and other dependencies for building ROS packages, run:
Then install
After that, need to install
image_pipeline
check if there is no problem during installing image_pipeline
May need to run the following command
Then install
Then need to copy the homography packages to /catkin_ws/src
COPY parameters of camera to .ros/camera_info/head_camera.yaml
TEST HOMOGRAPHY ESTIMATION
Test with showing wrap image: 13 Hz
Test without showing wrap image: 16 Hz
If run in more power consumption with setting to 10W power mode
Then the corresponding frequencies are 22 and 24 Hz
Last updated